Preparing for Stainless Texturing
My right front fender had one of the fender-mounted antennas and a few dents. I absolutely detest the fender-mounted antennas and will not yield to originality on this feature - that thing must go! Always opting for the more-adventurous route, I bought a used fender from a local DeLorean owner that was perfectly straight, but was previously-painted and was mildly scored in preparation for the paint. To get those cross-scratches out in a reasonable amount of time, it will need to be re-textured with the proper tooling.
The original texturing tool supplied to the original DeLorean dealers consists of two components: a modified ARO 8067-E1s grinder (model 8067-E1, but modified to run at a much-slower 1000 RPM). And attached to the grinder was a Vonnegut sanding wheel - a big cylindrical tool that has flaps of sandpaper and brushes sticking out.
First, the motor: If you can find one of the original 28-year-old ARO tools, get ready to shell out more cash than you would spend on a new fender! According to Ingersoll Rand (who now owns ARO), they don't make the 8067-E1s any more. IR has a few industrial drills that looked suitable and I almost got one, but apparently low-speed drills are commonly used by aircraft manufacturers. I found a suitable pistol grip drill from someone selling surplus tools from Boeing for a fraction of the cost of a new one. Granted, it's pistol grip, but the savings over buying a new one covered the cost of the rest of the setup with change to spare.
Now for the sanding tool: it's still made by G&P Machinery. It's now called a "Wolfhead" wheel, but it's the same principle: flaps of sandpaper and brushes that texturize metal. In fact, my invoice still had it listed as a "Vonnegut wheel." So I ordered a 12-brush Wolfhead wheel along with a handful of 60-grit aluminum oxide abrasive loads and a mandrel to work with my air drill.
With the tooling in hand, I can get started on that panel when it's raining and 35 degrees (which is more of a guarantee for the entire winter around here). After some practice, of course...
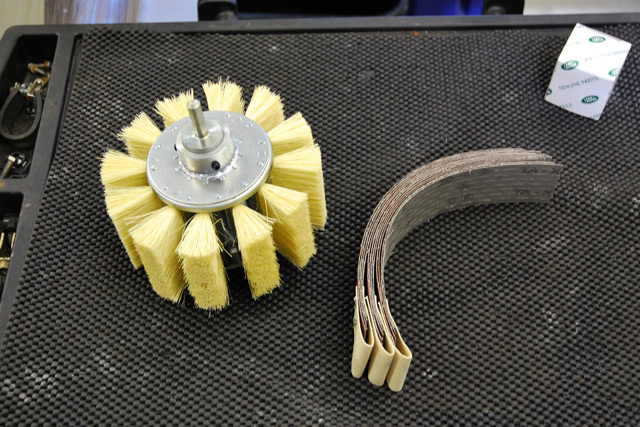
The Wolfhead wheel and one abrasive loading. Now I know why this thing is expensive: it's an industrial tool and it's very well-built.
Abrasive loaded and ready to spool...

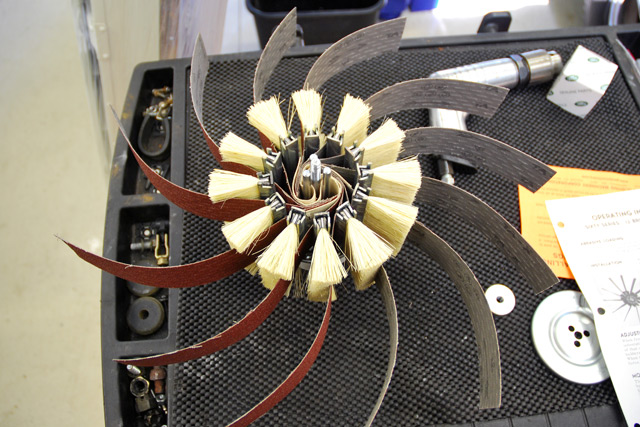
Mostly-spooled and assembled.
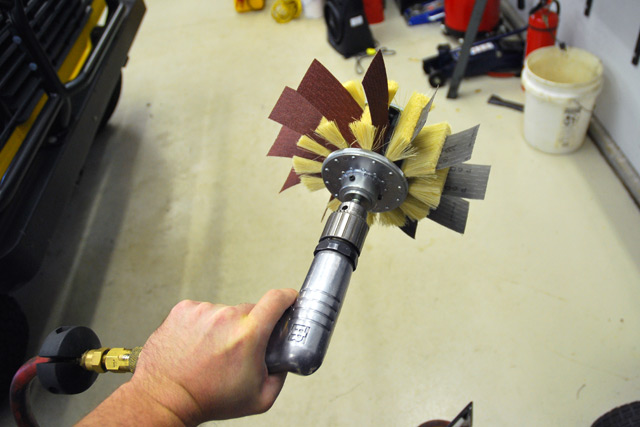
The complete setup, ready to grain! Those strips are a little long, but I'm still experimenting.
I have no photos to show, but I made some notable scratches in my beater panel with a screwdriver and this tool took them right out! I'll post more photos of the texturing process when I get there, but for now, it's time to jump back to painting while the weather is still suitable.